Over time, your inflatables are going to need some repairs – and it might not be the material, but the valve that you use to inflate and deflate it. Many inflatables have a Boston valve, so it’s worth knowing how to replace one if a leak ever develops.
Replacing a valve might sound difficult but as long as you have the right equipment it’s not too tough. Let’s take a look at what a Boston valve does, and how to replace it when it either springs a leak or comes loose and disappears altogether.
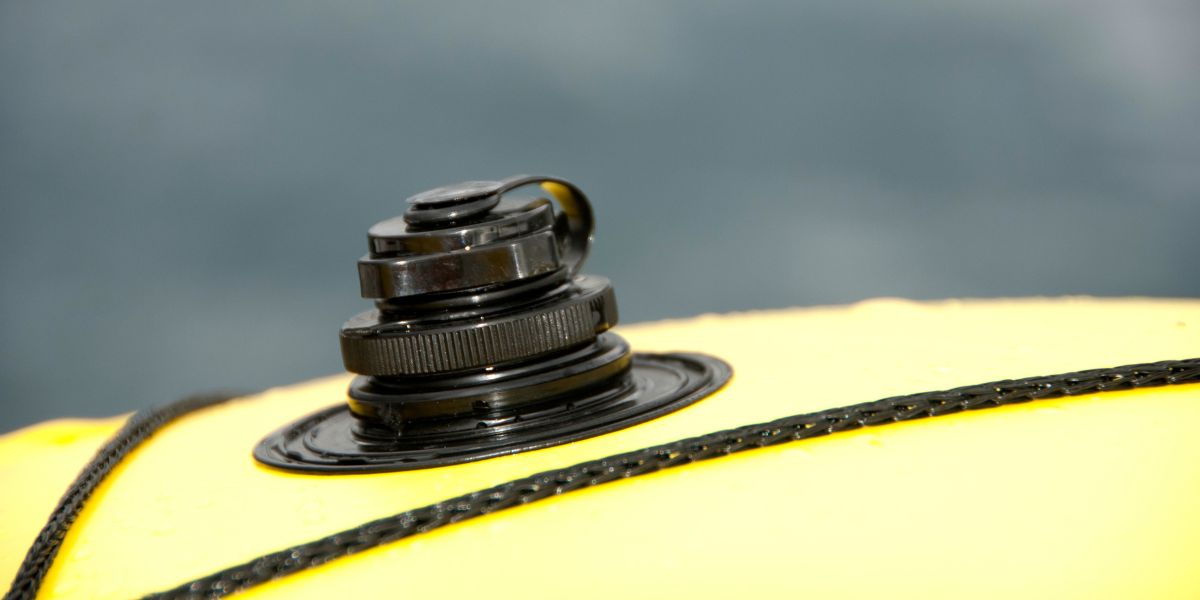
How Do Boston Valves Work?
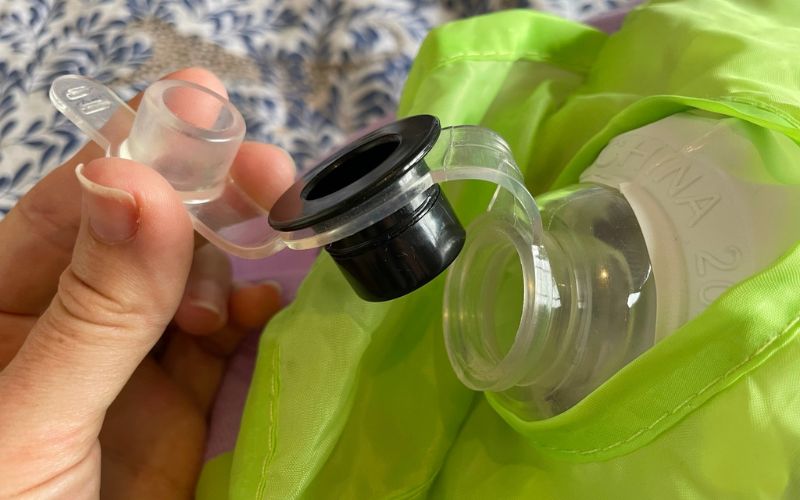
Boston valves have two caps. The inner “middle” cap is a check valve, meaning it only allows airflow in one direction – into the inflatable. So if you only remove the top cap, you can inflate your item without it deflating. You deflate it by removing that middle cap.
Obviously when you’re inflating something like a boat or a bouncy castle, you don’t want to lose any air pressure, so it’s important to be able to inflate it and then remove the pump without any air escaping before you close the cap.
That’s why a Boston valve is so popular – they don’t make you panic and try to slam shut the valve once you’re done inflating it. As long as the middle cap is in place, it won’t deflate but you can inflate it.
When Should You Replace a Boston Valve?
You should replace a Boston valve when it starts to leak air, or if it fully comes away from the hole – especially if you lose it in the process. If it’s leaking you might be able to fix it by reinstalling it, but usually it’s time for a whole new valve.
A Boston valve could fail just because of normal wear and tear – nothing lasts forever after all. It might be the valve itself, or the seal around it that comes loose. If it’s the seal then you can re-seal it, but if the valve is worn then it’s done for.
Sometimes, debris can get into the valve as well, especially if you’ve been setting up your inflatable on a gravel surface. If debris causes the middle valve to mis-align or wear down, then the whole valve needs replacing.
Most good inflatables will come with a spare Boston valve in their repair kit. But if you’ve lost it, or even already used it, then you’ll need to buy another one. The valves come in different sizes so make sure you get one that matches your existing one.
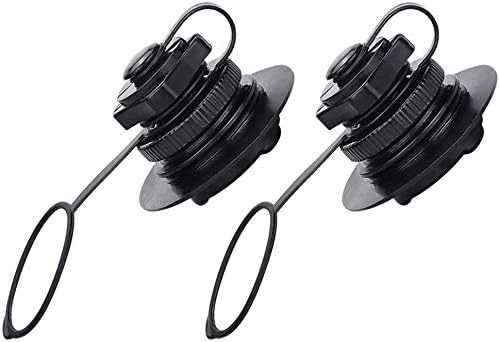
Made of quality, high-density ABS plastic
Sturdy and durable.
The bottom of the air plug has a rubber mat to prevent leaks more effectively
Troubleshooting A Boston Valve
If you think your Boston valve is leaking air, there’s a way you can check. Using a sponge, rub some water around the valve with a little bit of dish soap mixed in.
This will create a bubble if there’s air escaping, showing you where the leak is.
You should also open up the valve completely and look for any signs of debris causing a blockage. Use a flashlight (or the flashlight on your phone) if you can’t see clearly.
If there’s no debris and no sign of a leak, then it probably isn’t a problem with the valve. Check the rest of the inflatable for a leak or puncture.
But if there does appear to be a leak, you need to get to work. You can try re-installing the Boston valve first, using the steps below, but it might save you time and effort to just replace it with a new one anyway.
Removing A Faulty Boston Valve
To remove a faulty Boston valve, you’ll have to remove the material ring holding it in place. It will be glued with a strong adhesive, so it may need gentle heat to be applied to soften it. With that ring gone, you can soften the adhesive on the underside, and remove the valve.
You can also use a special valve wrench to make it even easier to remove an air valve. Just place it over the valve and, once it is gripped, twist hard.
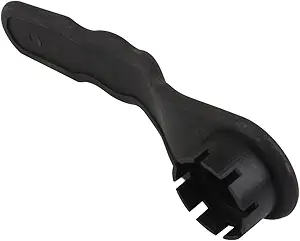
Made from PVC
Wrench hole diameter: Approx 2.8cm / 1.1 inch
Provides easy and reliable removal and installation of boat air valves
Replacing A Boston Valve
When your Boston valve is damaged, you’ll need to find a replacement of the exact same size as the one that came with your inflatable item. The measurements can vary by manufacturer, so you need to check carefully.

If you can’t find a matching valve, then you’ll need to buy one that’s slightly bigger, and cut the hole bigger to match. You can’t buy a smaller one since it will leave gaps in the hole.
Installing A Boston Valve – Step By Step
Here’s how to install a new Boston valve onto your inflatable:
1. Cut the hole (if one doesn’t already exist)
While this guide assumes you’re replacing a Boston valve, you may be installing a new one. If that’s the case you’ll need to cut a hole in the inflatable where it will live.
You can trace the inside of the valve to draw a circle, and then cut this out. Or you can place a dot in the center of where the valve will live, and then measure a circle from that dot that’s the same diameter as the valve.
2. Sand the valve’s flange
The valve’s flange is the plastic lip that runs around the outside. You need to sand down both sides of this – this roughs it up and ensures it will stick better when you apply the glue.
3. Glue the valve into place
Apply glue to the underside of the valve, and place it down on the outside of the inflatable, so that it covers the hole in the center. Push down firmly, ensuring that the inflatable material is flat – it needs to stick to a flat surface.
4. Cut a second piece of material and glue over the flange
You then need to cut a second piece of material to place over the top of the valve. This needs to be a ring, carefully measured so that it fits over the main valve but covers up the flange, with excess. This material is sealing the valve in place. Make sure it is glued so that it completely sticks to both the valve flange and the surrounding inflatable material.
5. Seal the valve
The valve is now in place, so you just need to seal it. You can do this with a heat sealer, which will bond the material to the valve. If you don’t have one, use a waterproof adhesive that you’ll find in any patch repair kit. Apply this around all edges, using 2-3 coats. Leave it to dry and it’ll form both a watertight and airtight seal.
Conclusion
Replacing a broken or even lost Boston valve sounds like quite a daunting task but it’s actually really simple, as long as you have good scissors, a suitable patch material to create the outer ring, and either a heat sealer or airtight adhesive.
Just follow these simple steps and you shouldn’t have any trouble replacing an old valve, making sure your inflatable continues to work for many years.