Inflatable boats have a number of benefits over their solid alternatives, including the fact that they’re much easier to store and they’re normally easier to climb in and out of if you’re diving (or falling) into the sea.
But of course, there are drawbacks too, including the fact that they are susceptible to punctures and leaks. It’s nothing to panic over though – here’s everything you need to know about inflatable boat hole repairs.
How To Find A Leak In An Inflatable Boat
To find a leak in an inflatable boat, fully inflate it and listen closely for escaping air. If you can’t locate it by sound, spray soapy water onto the boat. The escaping air will cause bubbles to form in the soap mixture.
If you’ve listened and tried soapy water, and you still can’t find the hole, check whether there is a leak at all. Sometimes boats can deflate if the air pressure has changed and the boat has been left unattended. Also, check that the valves are properly sealed.
If the boat is definitely leaking air then the soapy water method will find it for you. Make sure to check the whole surface of the affected air pocket, including the seams.
If the problem is with the valve leaking, then check out this guide to replacing a valve on an inflatable boat.
Once you’ve found the leak, you can mark it using either chalk or some light masking tape (nothing too strong) and then set about deflating the boat, ready for a repair.
How To Repair A Leak In An Inflatable Boat
If you have a significant leak in your inflatable boat, you can patch it. You’ll need to clean and dry the affected area, and then patch it using a matching material, gluing it into place.
The material is the important thing – most inflatable boats are made from vinyl/PVC (they’re the same thing) so here’s a guide to how to repair a vinyl inflatable boat – but if yours is different then just make sure you use the right material for your patch instead.
1. Clean And Dry The Affected Area
You should always fully clean and dry the area of the boat that needs repair before you do anything else. If you leave it dirty, greasy, or damp then the patch won’t stick properly and you’ll just end up with the same leak again – or worse, if the patch gets a little loose and pulls the hole wider.
Use acetone to fully clean the area that needs a repair, and then wait until it is completely dry.
2. Cut A Patch To Size
Once you have the area prepped, you’ll need to ready your patch. Make sure it’s a suitable material, so vinyl for a PVC boat. Cut it to size, making sure it covers the hole and leaves 1-2 inches around the sides.
You’ll also want to cut the patch to be circular. Corners are essentially a weak spot for adhesion and will likely peel away over time.
1100 denier reinforced vinyl coated fabric
Works for pool liners as well as inflatable pools, rafts, and air mattresses
1 fl oz (30ml) tube of vinyl cement
3. Use Sandpaper To Roughen The Surfaces
With the boat and patch ready, it’s time to roughen them up a little bit using a mild sandpaper. PVC is a relatively smooth material, so you’re just looking to create a bit of texture to help with the adhesion.
Do this on both the boat and the patch, being careful not to damage the patch as you work.
4. Stick In Place And Weigh Down
You’re now ready to attach the patch to the boat. Apply glue to both the area around the hole and the patch, then wait a minute. Repeat once or twice more – you’re looking for a good layer of tacky glue that isn’t too wet.
When ready, place the patch over the hole, making sure it’s smooth. Then weigh it down with something heavy and leave it there for at least 12 hours.
Once this is done, the patch should be nice and secure and you’re ready to reinflate the boat to test it.
How To Repair A Puncture In An Inflatable Boat
Repairing a puncture in an inflatable boat is the same as repairing any other kind of leak – you need to clean and dry the affected area then apply a patch. You have to make sure that the cause of the puncture is fully removed as well before you repair the boat.
Most punctures won’t leave behind any foreign objects – in those cases just follow the steps above to repair the leak as normal. But if there’s a sharp stone or other object stuck in the boat, you can’t repair around it. Leave it in place if you’re at sea, until you make it back. Otherwise, remove it.
How To Repair A Tear In An Inflatable Boat
Repairing a tear in an inflatable boat depends on the size. Small tears can be patched as normal, but larger tears (anything more than half an inch) would need more work – ideally being patched from both inside and outside the hull.
If the tear is more than a couple of inches long, you’re likely going to need a professional repair service. But for tears between 0.5 inches and 2 inches, just follow the steps to repairing a leak but prepare two patches.
Patch the inside of the hull first, and then repeat the steps for the outside. This double patch will strengthen the integrity of the material where the tear took place.
How Do You Fix A Leaking Inflatable Boat At Sea?
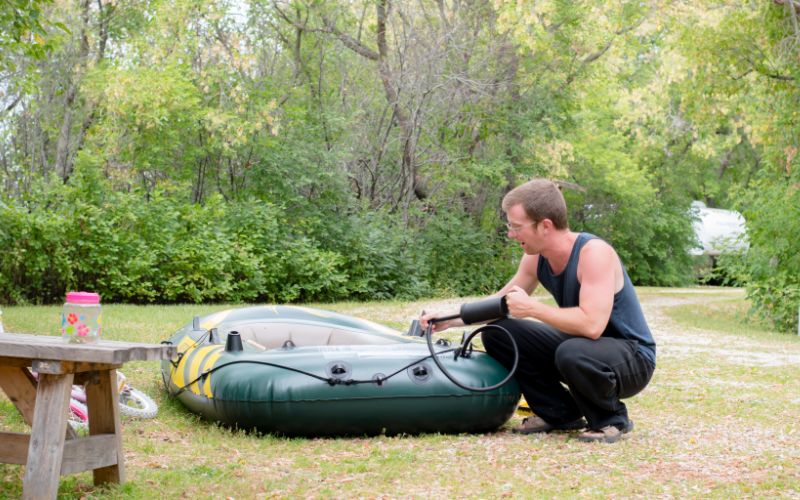
If you are out at sea and you notice a leak, don’t panic. If it’s below the waterline then you can’t repair it immediately. Use a handpump to keep the boat inflated as you return to shore. For leaks above the waterline, clean with acetone and repair with duct tape.
Duct tape is not a permanent solution – you’re using it only until you can get back to dry land and start work on a full repair. But it’ll definitely manage as a short-term solution.
You should never need to worry at sea if you do get a leak, because inflatable boats don’t have just one air chamber. They have at least two, so you’ll always stay afloat. Panicking is the most dangerous thing you could do because it’ll cause you to act erratically.
How Do You Repair An Inflatable Boat Seam?
If the seam of your boat has sprung a leak, you need to use a special adhesive to repair it. The adhesive will be included in some boat repair kits. Use a small tool to push the adhesive into the seam, and repeat a few times. Leave to dry fully.
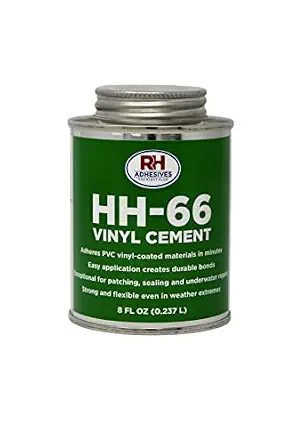
Strong glue to repair seams
Can be applied underwater
Sturdy and flexible
Repairs multiple types of vinyl
The seam of an inflatable boat is not normally a weakness you need to worry about but sometimes a leak can develop. It’s a relatively easy repair with the right adhesive though – you’re just sticking the seam back together.
How Much Does It Cost To Repair An Inflatable Boat?
The average cost to get a professional repair done on your inflatable boat is around $150 although beware of some people charging upwards of $500. Major tears will cost more to repair. You can do it yourself with a repair kit for around $20.
If you follow the steps above, you’ll be able to repair most leaks and punctures in your inflatable boat with relative ease. So you can definitely save a lot of money instead of paying a professional to do it.
The only time to turn to a professional repair is if the tear or leak is major, at which point it will likely cost more than $150 to fix it, but how much can vary.
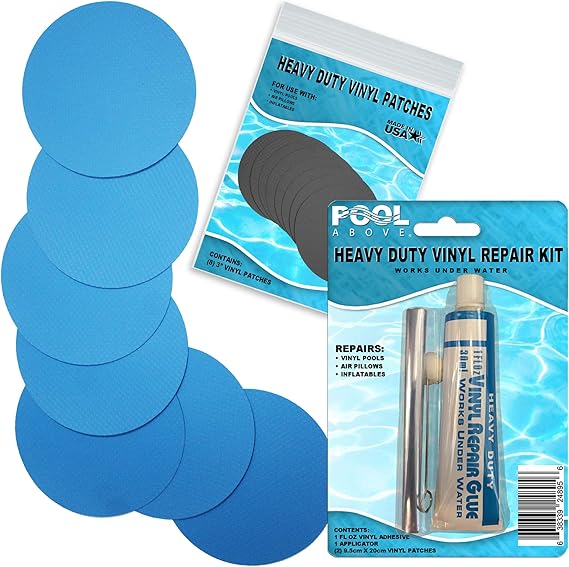
Best Inflatable Boat Patch Kit
A good patch kit doesn’t have to be excessively big – it just needs some inflatable boat leak sealer glue and some patches suited to your boat. The best kits will include multiple patches along with adhesives to use on the seams of your boat as well.
1100 denier reinforced vinyl coated fabric
Works for pool liners as well as inflatable pools, rafts, and air mattresses
Works under water
Along with your repair kit, you should also carry a spray bottle with soapy water when you’re at sea – that’ll help you find any leaks above the waterline quickly. And make sure you have a handpump so that you can keep punctured sections inflated while you return to shore.
What Is The Best Glue To Repair An Inflatable Boat?
The best adhesives for repairing an inflatable boat are specially made to work with PVC and vinyl materials, and create a rubber-like seal once they’ve dried. They can be used to stick patches or to repair a leaking seal.

Don’t use superglue as this can sometimes burn the material and damage it. Always buy a specialist adhesive, ideally as part of a proper inflatable boat repair kit.
What Causes Inflatable Boats To Leak?
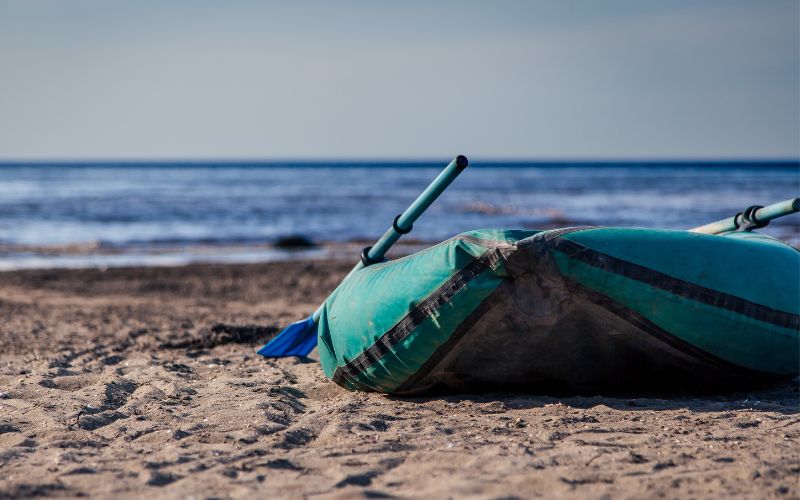
The most obvious cause of leaks on inflatable boats are punctures or tear caused by sharp stones. UV damage over time can weaken a boat’s lining, while dragging the boat over sand can wear down the protective layer.
It’s important to take proper care of your inflatable boat. Don’t drag it over a beach, and store it away from direct sunlight when you aren’t using it.

Final Thoughts
Repairing an inflatable boat with a patch is a relatively straightforward task, provided you make sure you have the right tools and material to hand. It may seem daunting to repair a boat yourself – and even more so if you’re on the water at the time – but it’s not too scary once you know how.